deconstructed venison kebabs with marinated Greek vegetables

Oh man, what a success. Well… Mostly a wing-it and hope for the best because this is what we are having success, but success nonetheless! Wow. I am already embarrassing myself. Shocking, I know.

This dinner really was a spur of the moment idea I had as I was running into Trader Joe’s to pick up a case of wine few groceries. With summer winding down and some of my favorite vegetables going out of season, I was craving something summer-y that would also satisfy a certain someone’s appetite and conviction that one must have protein at every meal. With corn on the cob, baby sweet peppers (remember these?), zucchini, and mushrooms in my basket – light bulb! Enter – kebabs. And an excuse to use some of that famous cube steak in the freezer begging to be eaten so I can make room for {hopefully} a few dozen more pounds of meat this fall/winter! But, honestly, I am getting dangerously close to empty-freezer freak-out mode… Perhaps a few days in the stand is just what the doctor I haven’t been to ordered. There. That’s my rant about wanting to deer hunt. Soon, friends. Very soon.

But, on to the recipe. This is so easy, and all you really need is time to marinate the meat and veggies. At least an hour for the meat, but you can get by with around 30 minutes for the vegetables. The slight sweetness of the venison marinade pairs so wonderfully with the tangy Greek marinade for the vegetables… It’s fantastic. And feeds 3-4 when served with corn and salad, depending on who those 3-4 people are. 😉

INGREDIENTS

VENISON:
1 lb venison cube steak, cut into palm-sized chunks
1/2 cup low-sodium soy sauce
1/3 cup Worcestershire sauce
1/3 cup brown sugar

VEGETABLES:
6 baby sweet peppers – assorted colors, chunked
1 medium-sized zucchini, cut into 1/4″ rounds
5 button mushroom tops, halved
1/2 cup onion, chopped into bite-sized pieces
2 cloves roasted garlic
2 tsp lemon juice
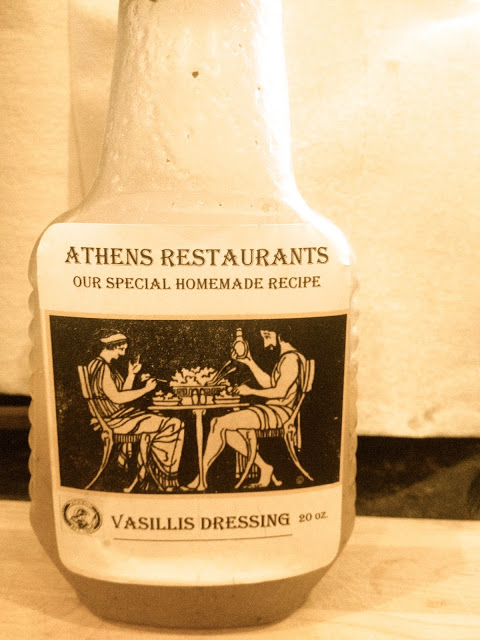
1/3 cup Greek dressing {I use the house-made from here alllll the time. Get some if you are in town!}

I threw some corn on the cob in the oven a little bit before I took the meat and veggies out of the fridge  – just a little bit of butter, salt, and pepper, wrap in tin foil, and 350* for 30 minutes. Super easy side dish, and super delicious.

STEPS:

1. I actually had John go ahead and cut/marinate the venison before I got home so it would have time to do it’s thing, so I unfortunately don’t have “before” photos of that. Wah Wah. Sorry. I’m terrible. But, like I said – at least an hour in the fridge to marinate. You’ll know it’s ready when the meat has darkened in color from absorbing the marinade and is fairly easy to pull apart.

Do the same thing with the veggies. Chop them up, toss them in a bowl with the dressing and lemon juice, cover, and let sit in the fridge for at least 30 minutes.

2. Remove venison and vegetables from the fridge, and begin assembling your kebabs. I made sure to pre-soak the skewers, but since I did these in the oven and not on the grill, I am not sure if that was such an important step looking back on it. Also, if some of your pieces of cube steak are much longer than others, like mine were… John…. it is actually really nice to wrap them around a veggie or two. Just for an extra layer of flavor. Or something like that… Isn’t that what they say on Food Network?

Place them on a baking sheet or wire rack that has been covered in tin foil – trust me on the tin foil part. Take a look back at the bowl your veggies were soaking in, and there will be some extra marinade left over. Pour that extra goodness in all of its garlicky glory over every last kebab. Don’t waste a drop!

3. Place into a 475* oven for 10-12 minutes.

This is actually the “after cooking” picture, but you really can’t tell that much of a difference since the meat was already such a great color from its soak in the hot tub. “But what about the vegetables?!” you ask? Where is their charred yet golden brown color? Ten minutes isn’t long enough for them to get where they need to be, I know. And I knew you were going to ask that, so I have your solution.

Did you notice that these are called “deconstructed” kebabs? I personally don’t have a great history with trying to eat kebab things off of the skewer. I always end up with some sort of puncture wound and then take the meat/veggies off and eat with my fingers a fork anyways. Which is actually perfect for this recipe.

4. Once out of the oven, remove everything from the skewers, and separate the meat from the vegetables. DON’T THROW AWAY THE TIN FOIL YET. Add the vegetables and all of the juices from the cooking process into a large skillet on medium-high heat. Saute for 5 minutes or so, or until they are at your desired hue of golden brown and slightly charred at the edges.

5. Plate it all together, yet separately – venison, vegetables, corn, and salad. My ranting made this seem like much more of a process than it really was, I am now realizing, but it is so simple. 

Eat some summer veggies before it’s too late!

venison {cheeseburger} bites

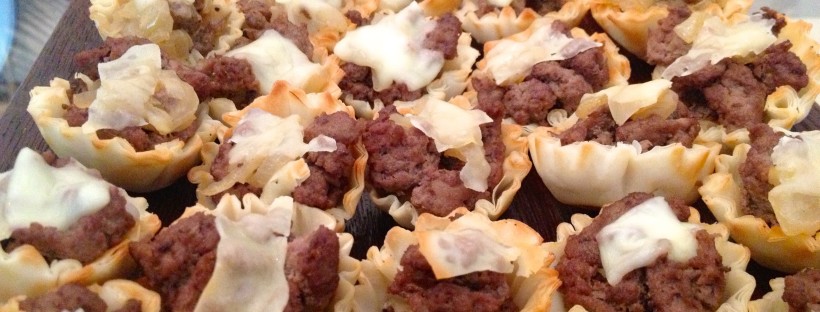
These little nuggets of delight are perfect for entertaining a crowd of hunters – or in this case, football fans. That’s what I was doing when I served these a couple weeks ago. We had a group of friends over to watch the first Carolina game of the season, and these were a hit. I have always been a fan of making a handful of hearty appetizers when entertaining a crowd, rather than worry about making one big dish and hope it comes out as tasty as I had planned. Or, trying to coordinate pulling it out of the oven/off the grill during half time so as to not disturb the boys who can’t peel their eyes away from ESPN. Never fear! These bite-sized snacks are like little cheeseburgers, and are the perfect compliment to a few chilly beers and an evening of football, or post-hunt downtime.

Continue reading

venison cube steak parmesan

I know, I know. The name is a real doozy. But this was such a delicious meal, I am not even worried about it. Last weekend was a “clean out our freezer” weekend, and the plethora of cube steak we discovered made for an exciting attempt at a new recipe. A few Google searches later, we had enough inspiration to make a trip to the store and get what we needed. It’s a hunter’s take on an old classic with more than a few alterations, and definitely worth a try!

Continue reading

catch of the day

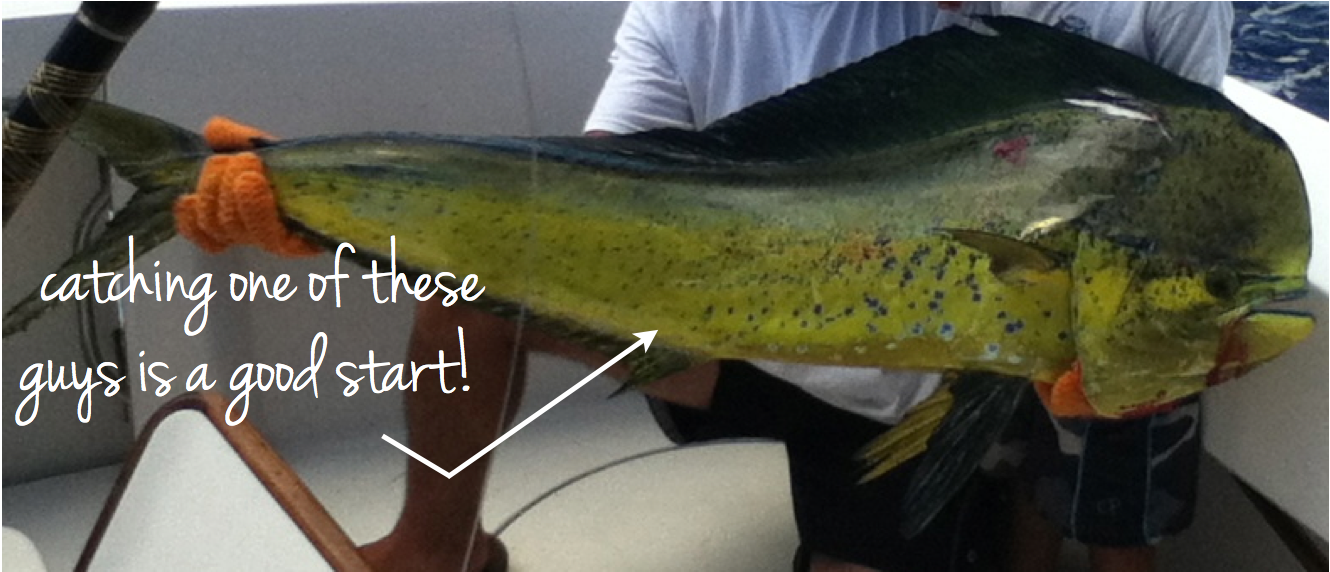
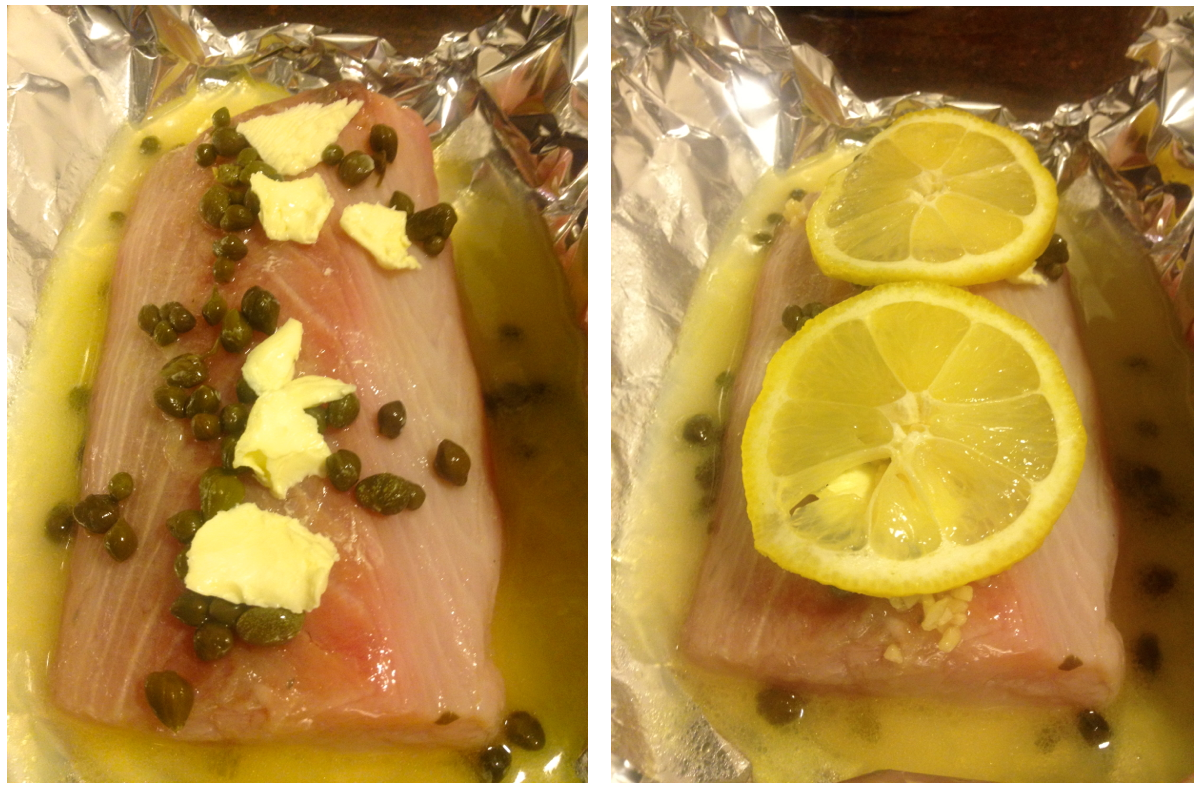
I hope you’re hungry and ready for some deliciousness. As I mentioned yesterday, the Rascal crew was successful in catching some dolphin (mahi, that is- not Flipper!) during the tournament, and we did not hesitate in whipping up a delicious meal with it as soon as we were back in town! I unfortunately did not have my camera with me, but I was able to snap a few before and afters with my phone.

This recipe is incredibly simple- you can play around with the quantities to suit the amount of fish you are preparing. You can also throw it on the grill for some extra flavor if you’re feeling the outdoors!

INGREDIENTS:

2  4-6 ounce mahi filets, about 1″ thick
1 heaping tbsp of capers, plus some of the liquid from the jar
1/4 cup olive oil
1/2 cup lemon juice
1 lemon, sliced thin
2 tbsp butter
1 1/2 tsp minced garlic
2 tbsp grated (or shredded) Parmesan cheese
mixed greens

STEPS:

1. If you can, go out and catch some fresh fish! Then filet that beast into 4-6 ounce filets.

2. In a zip-top bag, combine lemon juice, olive oil, garlic, and the capers/liquid, along with your fish filets to marinate for 15 minutes or so. It doesn’t need to marinate too long simply because you will also be cooking it in the marinade. Non-stop flavor!

3. Using a sheet of tin foil, create a little pouch that will hold one of the filets. Place the fish inside, and pour the marinade over it so it hits the filet about half way up. Make sure you have gotten some of the capers and garlic on there, too! Repeat with the second filet. Also- preheat your oven to 375*. I always seem to forget about that part.

4. Dot the top of each filet with butter, and place two slices of lemon on top before folding the foil over and sealing the pouch. Place the pouches in a baking dish, just in case there is a leak. I say this because… The one I made leaked. Shocking, I know.

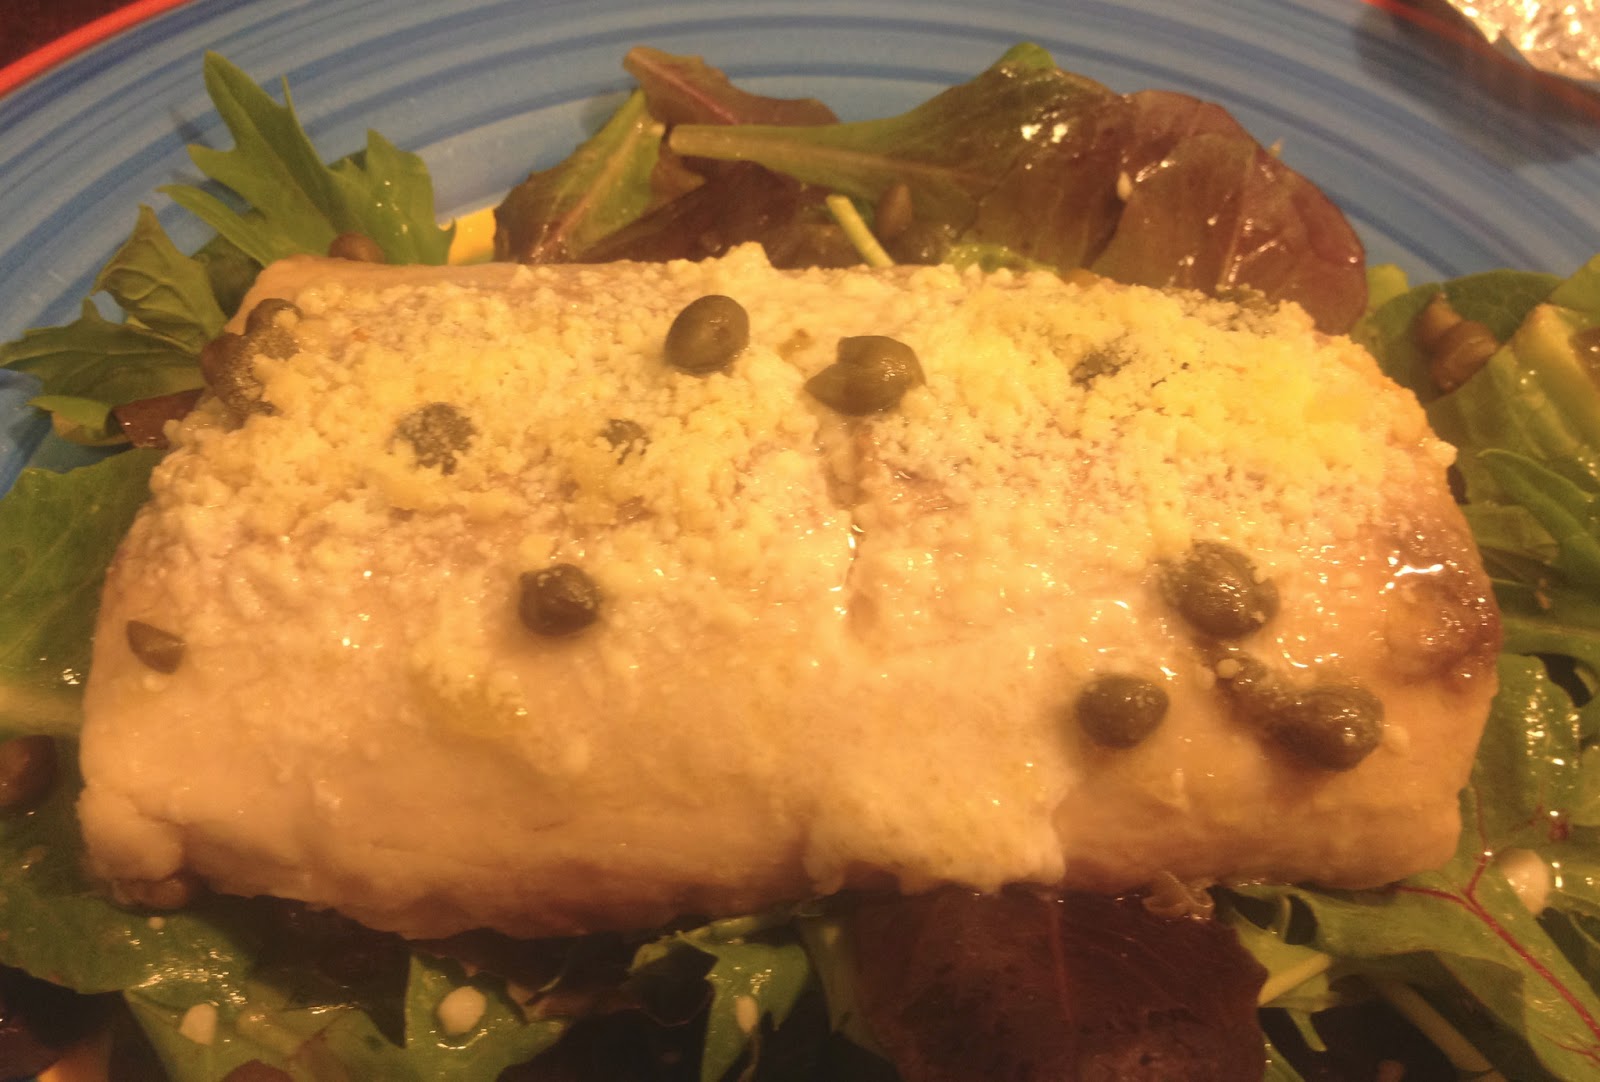
5. Bake for 22-25 minutes, or until the fish starts to be able to be flaked with a fork. And looks tender and juicy and delicious. Turn the oven to broil, and sprinkle the top evenly with the Parmesan. With the pouch open to exposed that Parmesan-crusted goodness, broil the fish for 2-3 minutes, until the cheese turns a golden brown.

6. Plate on a bed of mixed greens, pouring the liquid from the bottom of the pouch over it all. It will act as an easy, amazing “dressing” for the greens. We had new potatoes and roasted corn on the cob as sides, and thoroughly enjoyed this delicious, easy meal!

Definitely make this simple summer meal- I promise you won’t regret it!


grab and go breakfasts

Happy Tuesday all! Ever wake up to hunt or fish at, say, 4 am, and think “How can one function, much less think about eating this early in the morning?!” So then you throw on your camouflage or bathing suit, pour a quick cup of coffee, and walk out the door. And what do you know? Thirty minutes later, you are starving, but you’re already waist-deep in the pond or have just pulled away from the dock. Talk about s-o-l, right? Wrong!

Continue reading

venison empanadas with balsamic caramelized onions

So I know that is a mouthful to say, but these yummies are a mouthful of deliciousness to eat. They’re my take on traditional empanadas, and boy were they a hit. During the spring and summer I find myself anticipating a bountiful fall and winter when it comes to game, so I start to go through my freezer pretty quickly. With ample amounts of ground venison stored, this is an excellent way to use some in a non-traditional way, and to keep your palate guessing. And no, I did not fry them. But oh man would have have been fantastic, too. The boys were satisfied with full bellies, and we even have a few leftovers for the next day or so. Also- I am not a food photographer, or, apparently, a pastry chef. Just throwing that out there…

Continue reading

snacks for the stand

Yes, I am one of those. Nearly every time I go dove hunting, at least half of the times that I duck hunt, and definitely every single time I go deer hunting, I like to bring a little snack. The reason? My excuse is that sometimes I am just not quite sure how long exactly I will be out there. What if I sit for 3+ hours and see nothing, and then a monster buck walks out and I take a shot and he runs for a mile before going down and I have to spend an hour finding him, and then drag his heavy self out of there? Hmm? That could totally happen. In which case, I would need to boost my strength and energy in a caloric way beforehand. While that may seem more improbable than not, it helps ease my mind. Mostly, it’s because I can get a little bored when things are quite in the woods. My dad and I like to stop somewhere before we get to the property to grab some bottled water, perhaps a diet coke, and definitely a snack. Fortunately for him, dear Dad still has the metabolism of a high school kid who runs track, and often purchases a candy bar or Moon Pie. I am somewhat less fortunate. While I do my fair share of exercise and running, if I ate a Twix every time I hunted, my bikini-clad self during the summer would not be happy with my camo-clad self from hunting season. The best way to make sure that doesn’t happen? Whip up some easy, homemade snacks to bring along! It’s a great way to control what you’re eating, and definitely makes it easier on the wallet.

Continue reading

bacon-wrapped quail

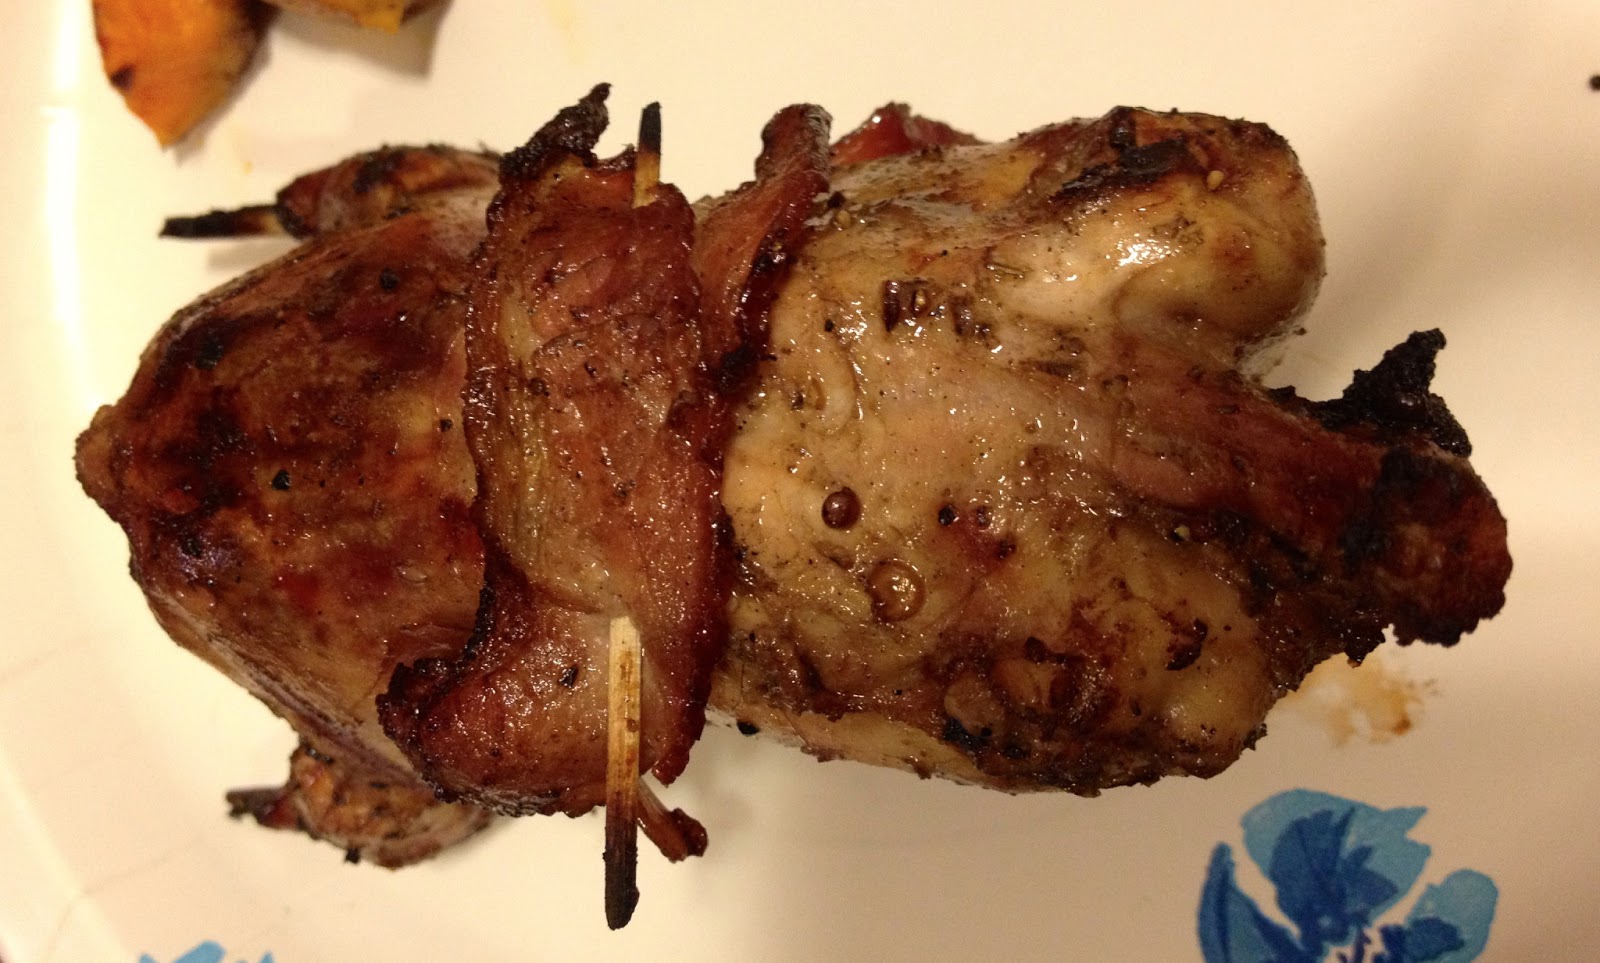
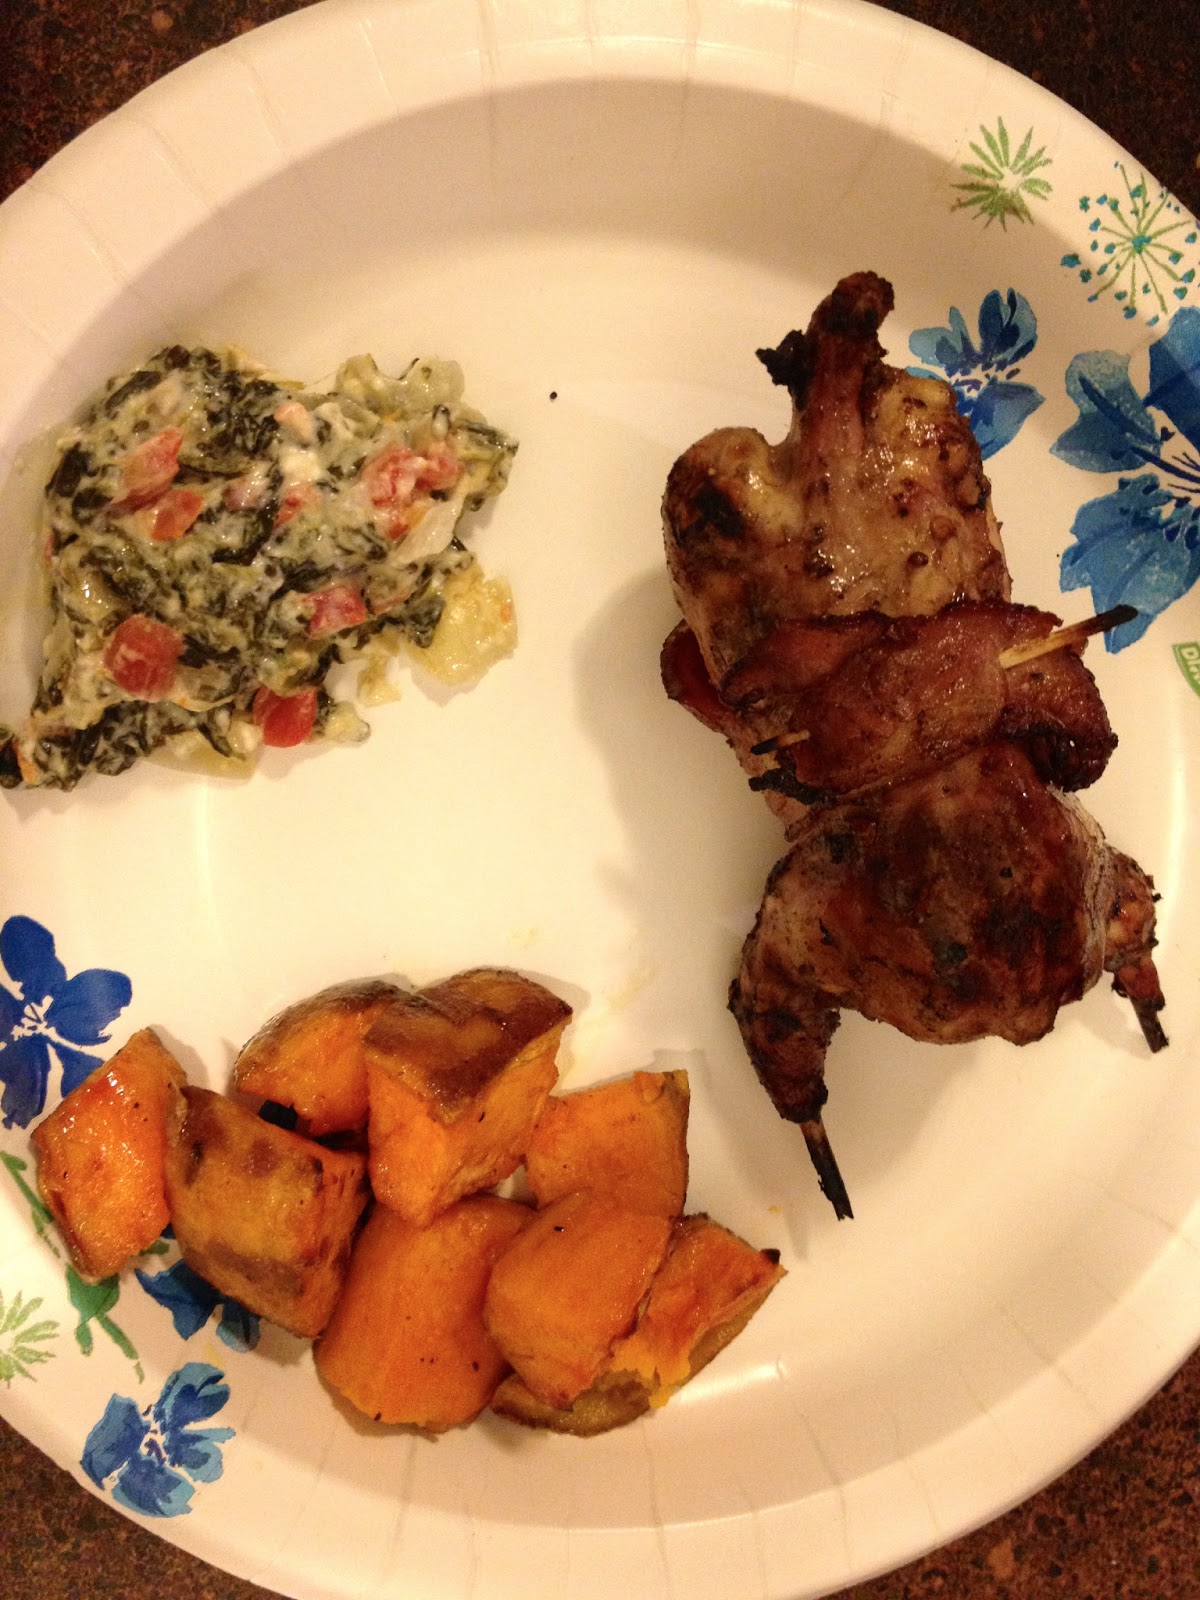
As promised! The quail hunt from Saturday provided quite a bounty, and, as I mentioned, we had a big group over that evening for a little grilling fun. Everyone really enjoyed it, and I only wish we had another hunt on the books so we could do it again. {Side note- pardon the cheesy paper plates in the last two photos- when you have a bunch of people over for a casual grill-out, they make for a much easier clean-up!}

INGREDIENTS:

Quail- whole, skinned {we had 14 total, but were feeding 8-10. Adjust as needed!}
2 tbsp olive oil
2 tbsp generic steak seasoning
2 tbsp lemon pepper seasoning
1 tbsp garlic powder
1 strip of bacon per quail
{*If you are grilling fewer quail, adjust your measurements accordingly!}

STEPS:

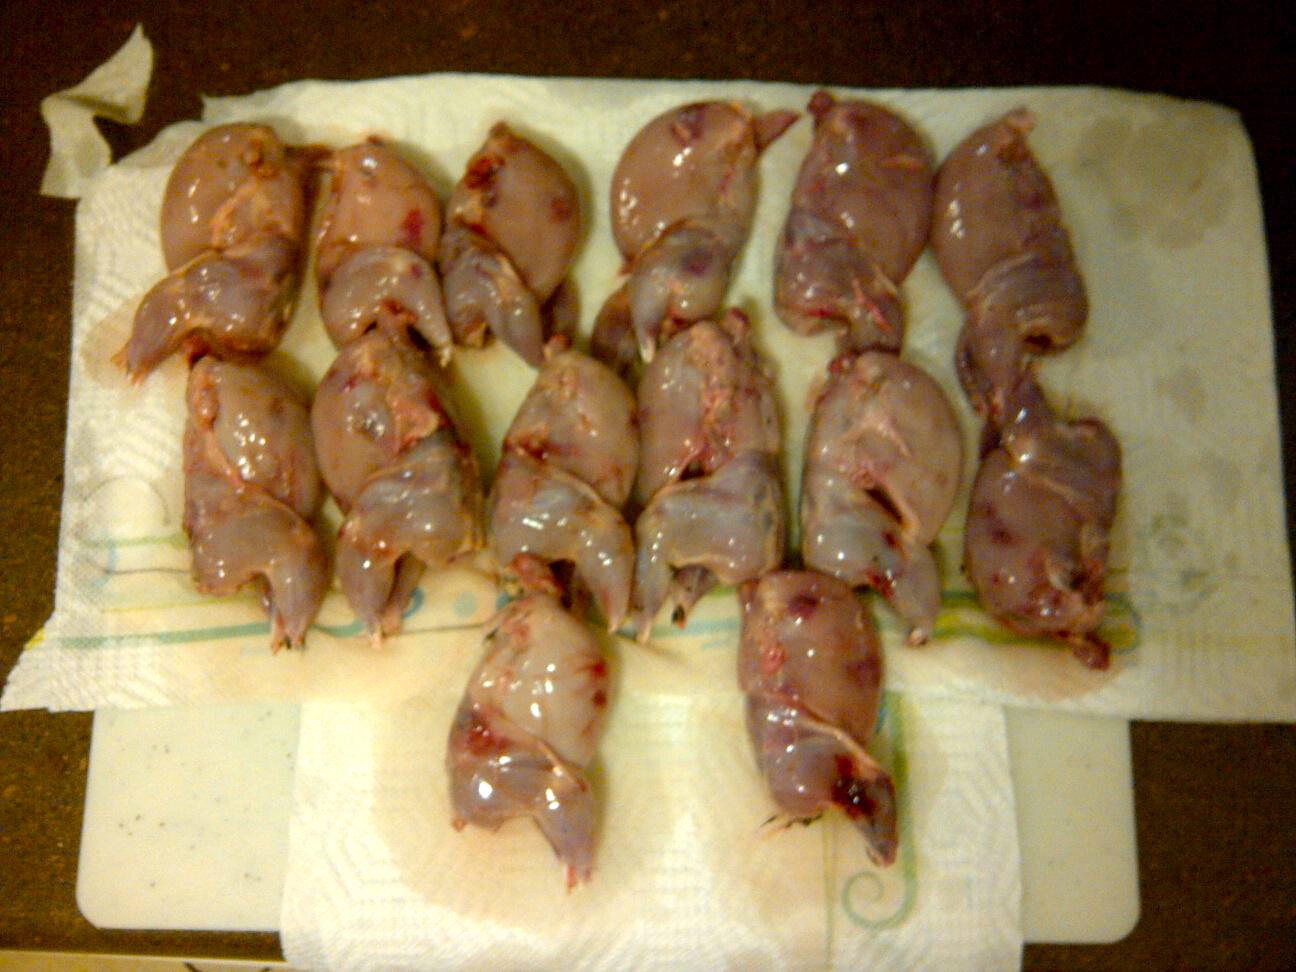
1. Start by picking the quail, removing all of the feathers and silver skin. If you have purchased your birds, this part should already be completed for you!

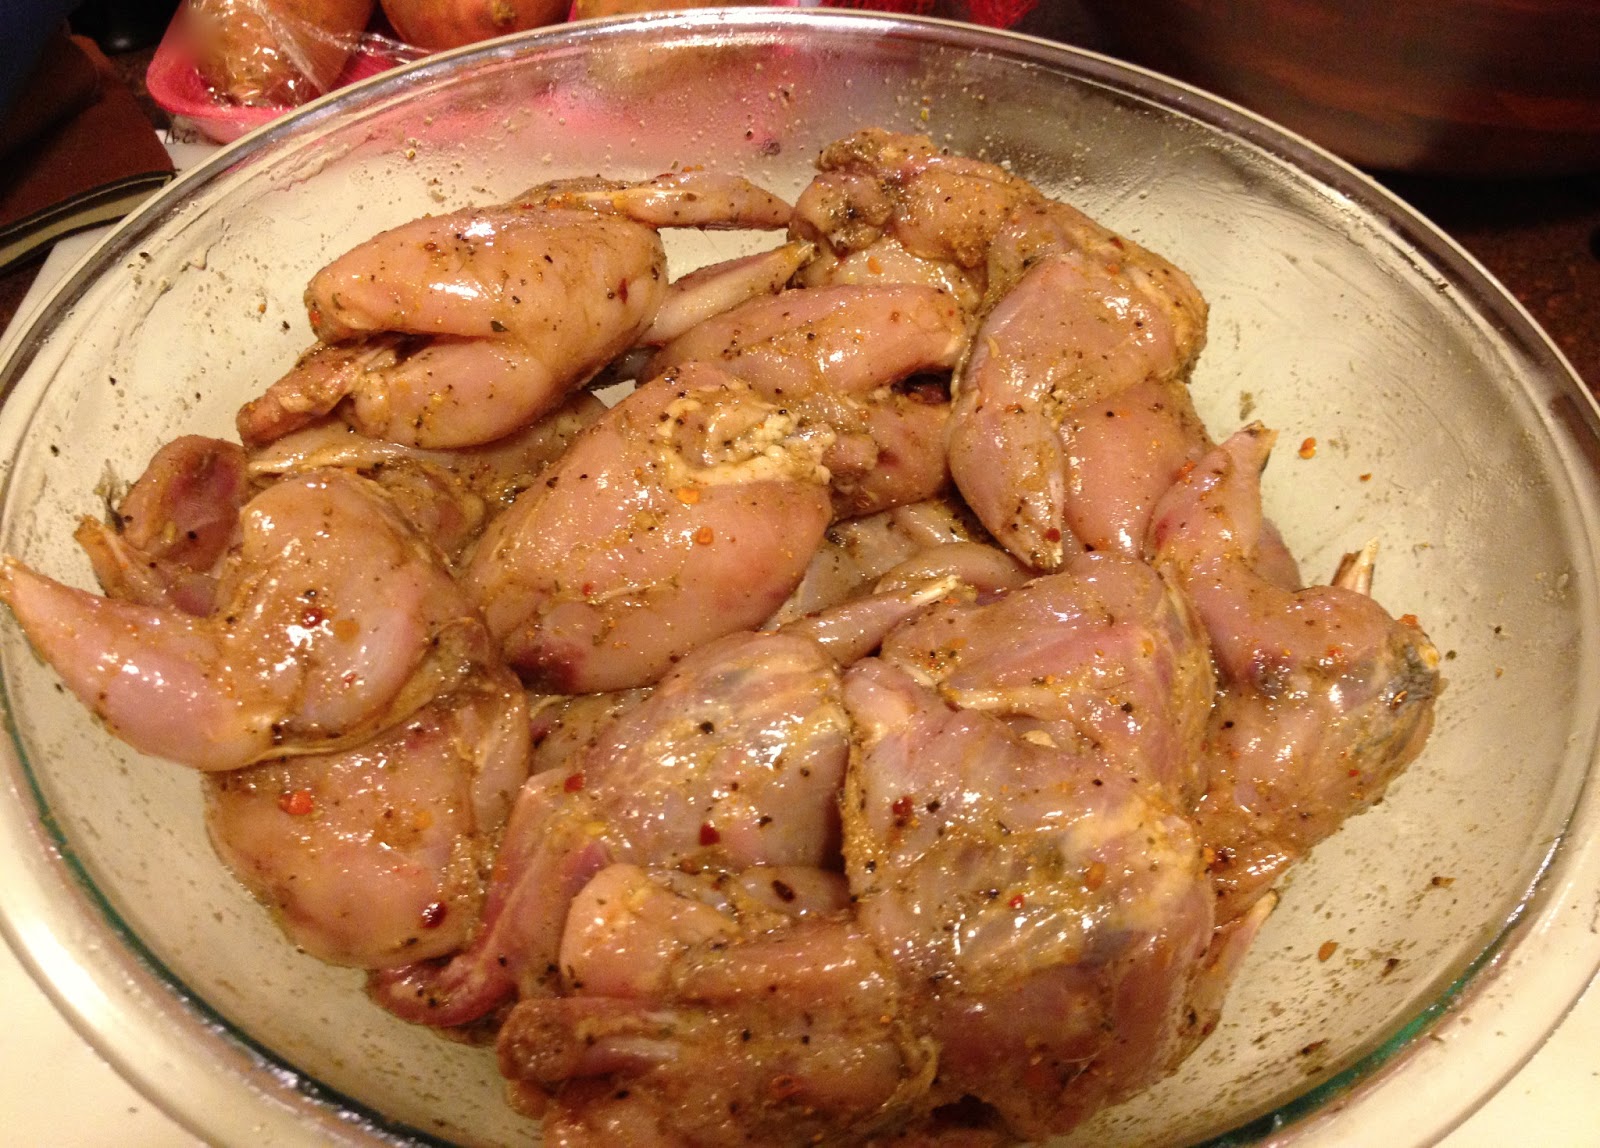
2. Once your birds are cleaned, place them in a large bowl with all of the olive oil and spices. Make sure each one is thoroughly coated, cover the bowl with plastic wrap, and let them do their thing in the fridge for at least 2 hours.

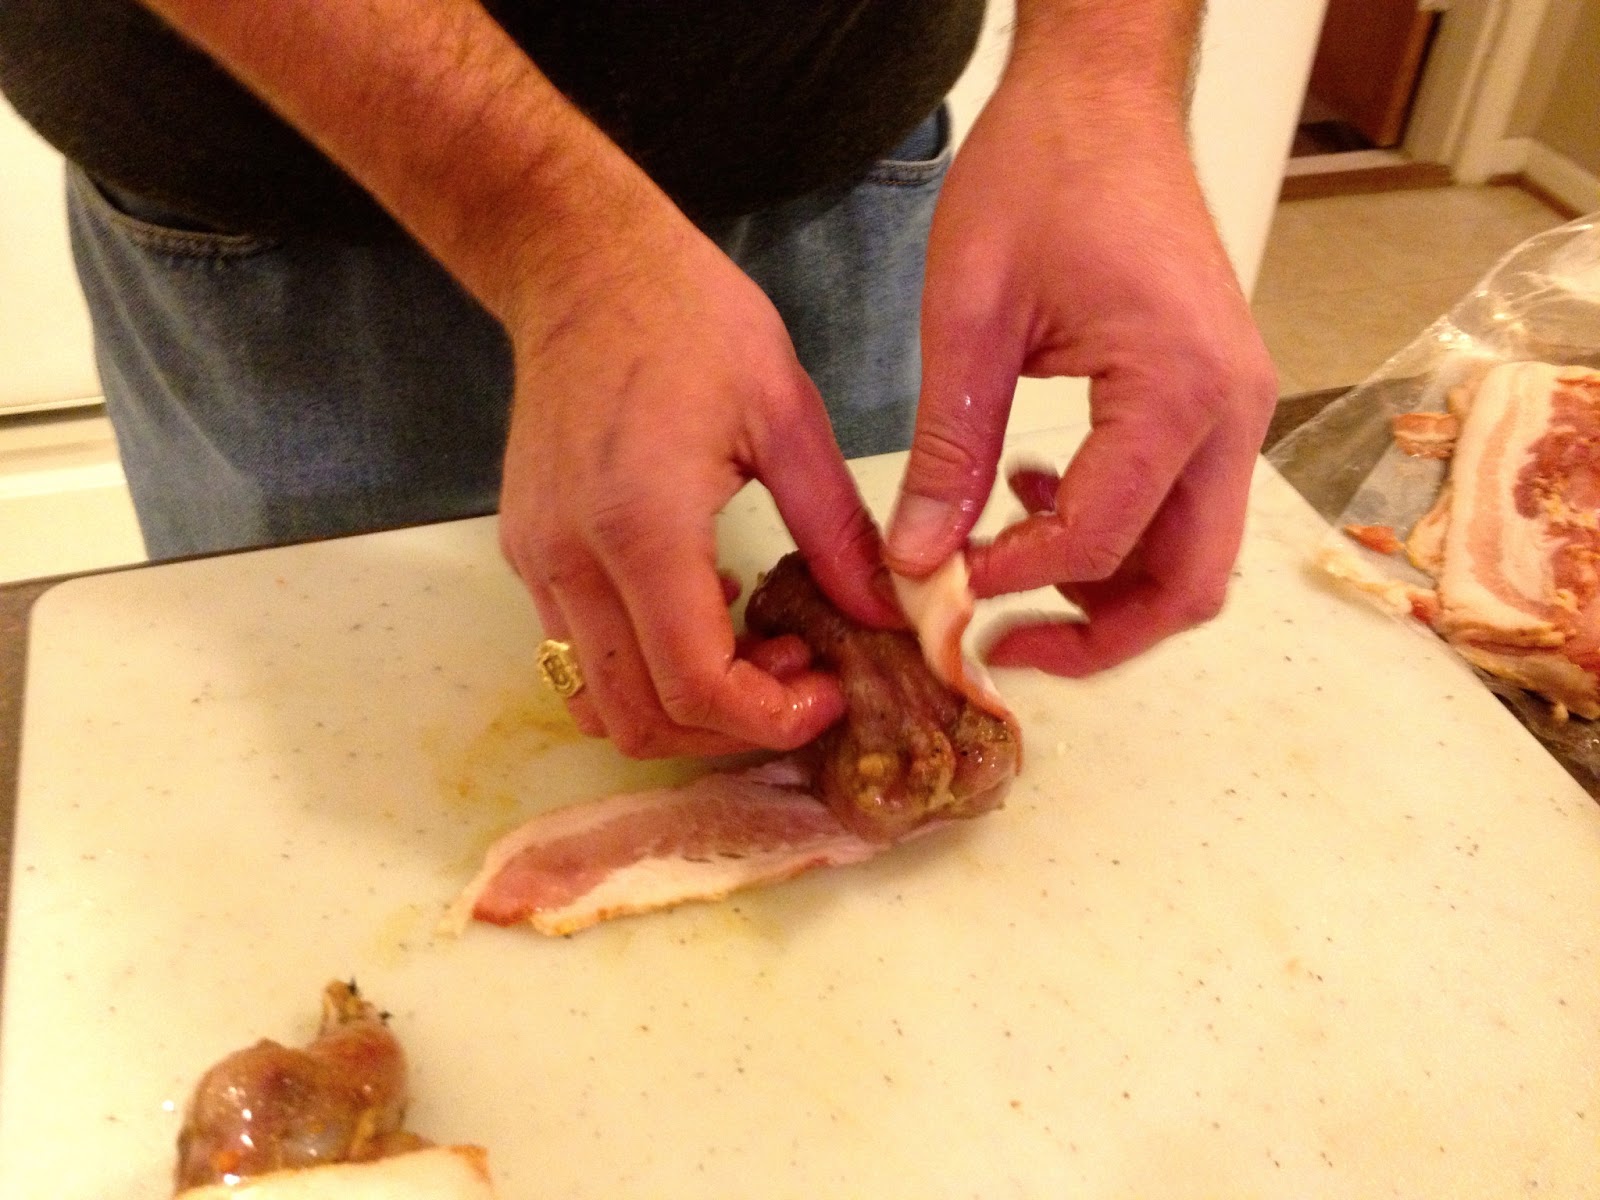
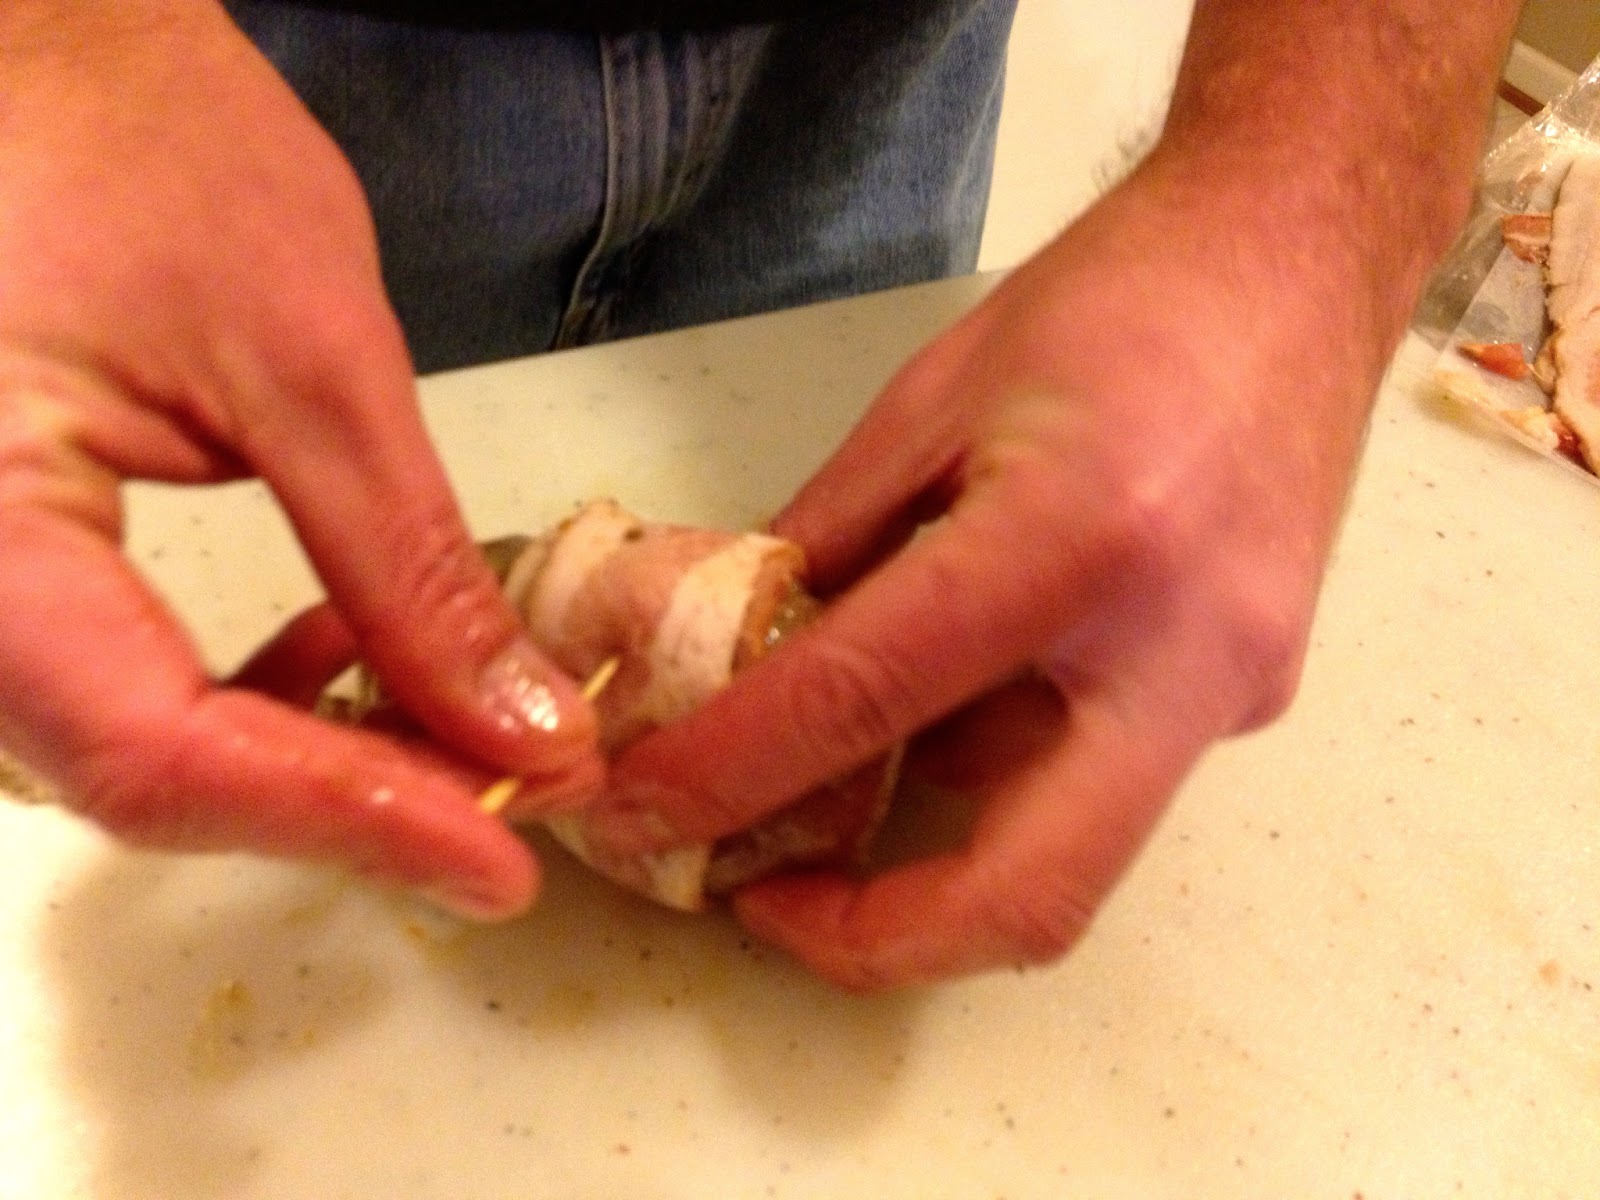
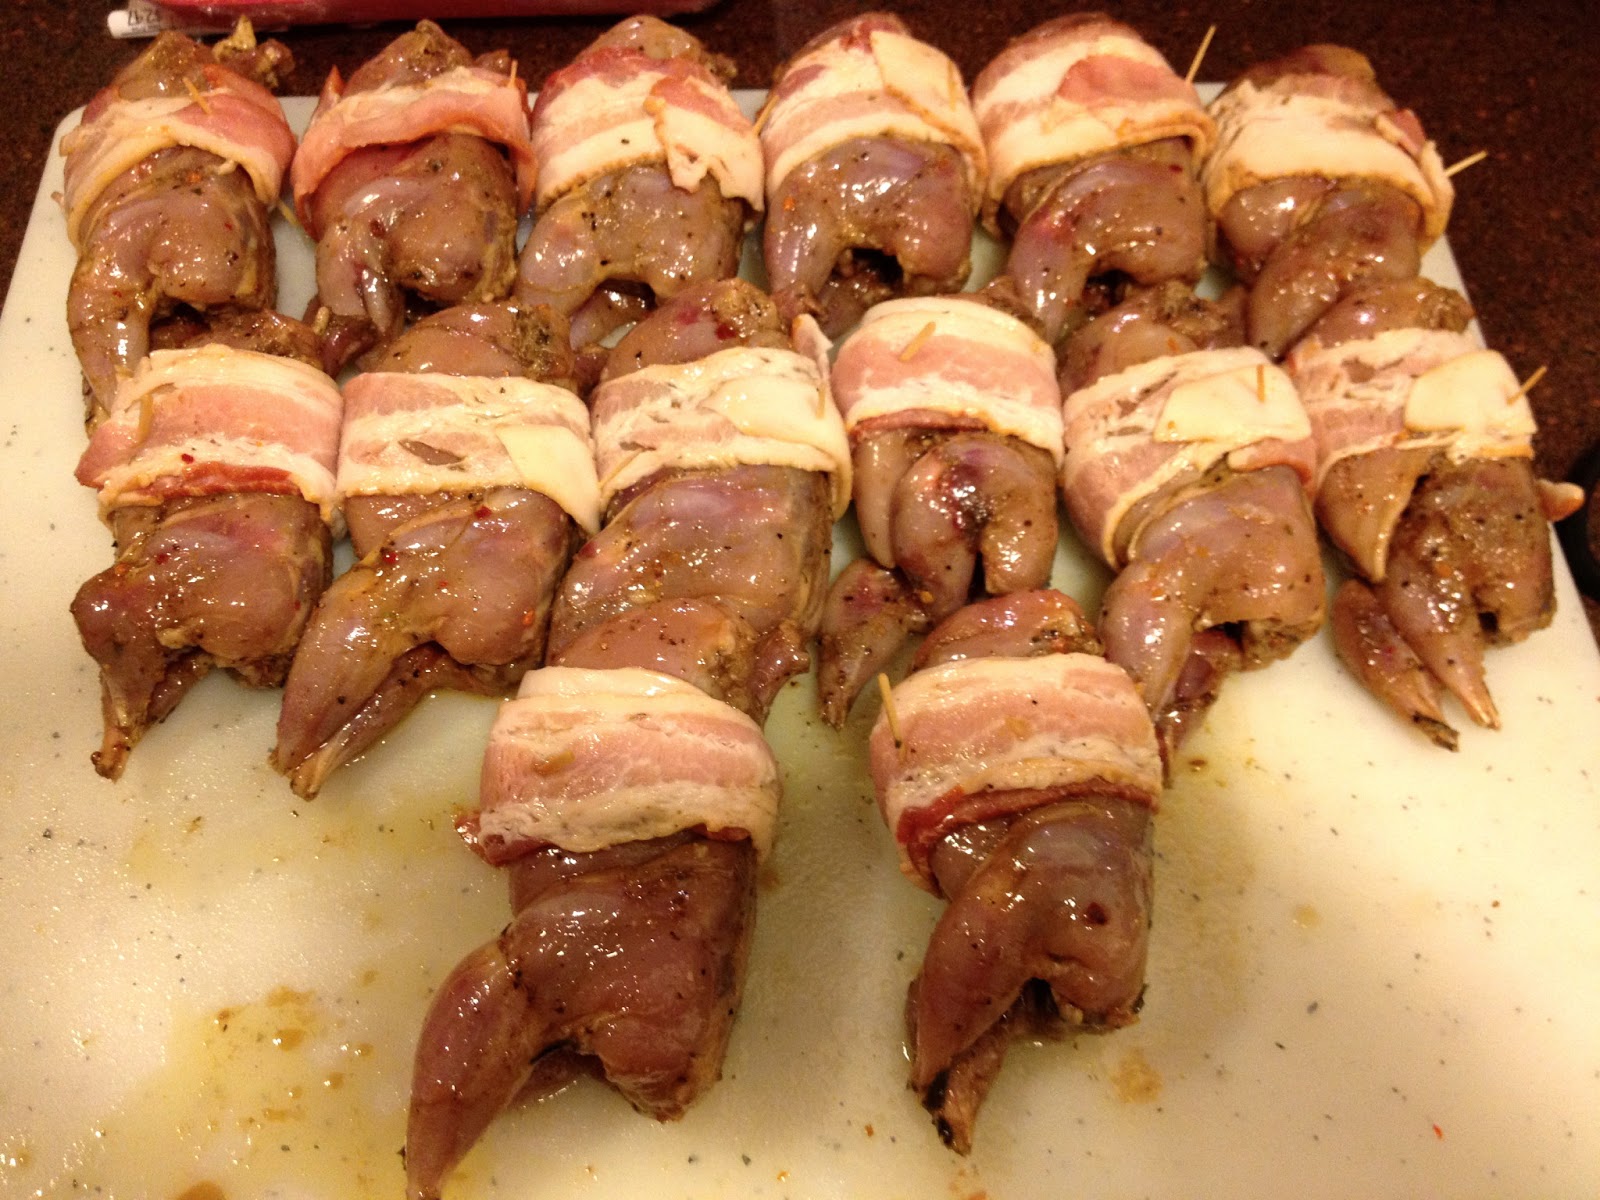
3. Take each quail and wrap it individually around the middle with one strip of bacon. Secure with a toothpick or two. Continue until each one is in its own little bacon blanket. And no, I did not suddenly get large hands and hairy arms. That’s the main squeeze being Mr. Chef!

4. Grill time! Quail are tender, delicious little birds, but can easily be over-cooked. Be careful!

Make sure the surface of your grill has relatively the same heat all the way across so the quail can cook evenly. Place them on the grill and cook for 15-18 minutes, flipping them at about half way point the cook time. You will know the quail is cooked through when it is slightly firm to the touch (think similar to a cooked chicken) and the juices run clear.

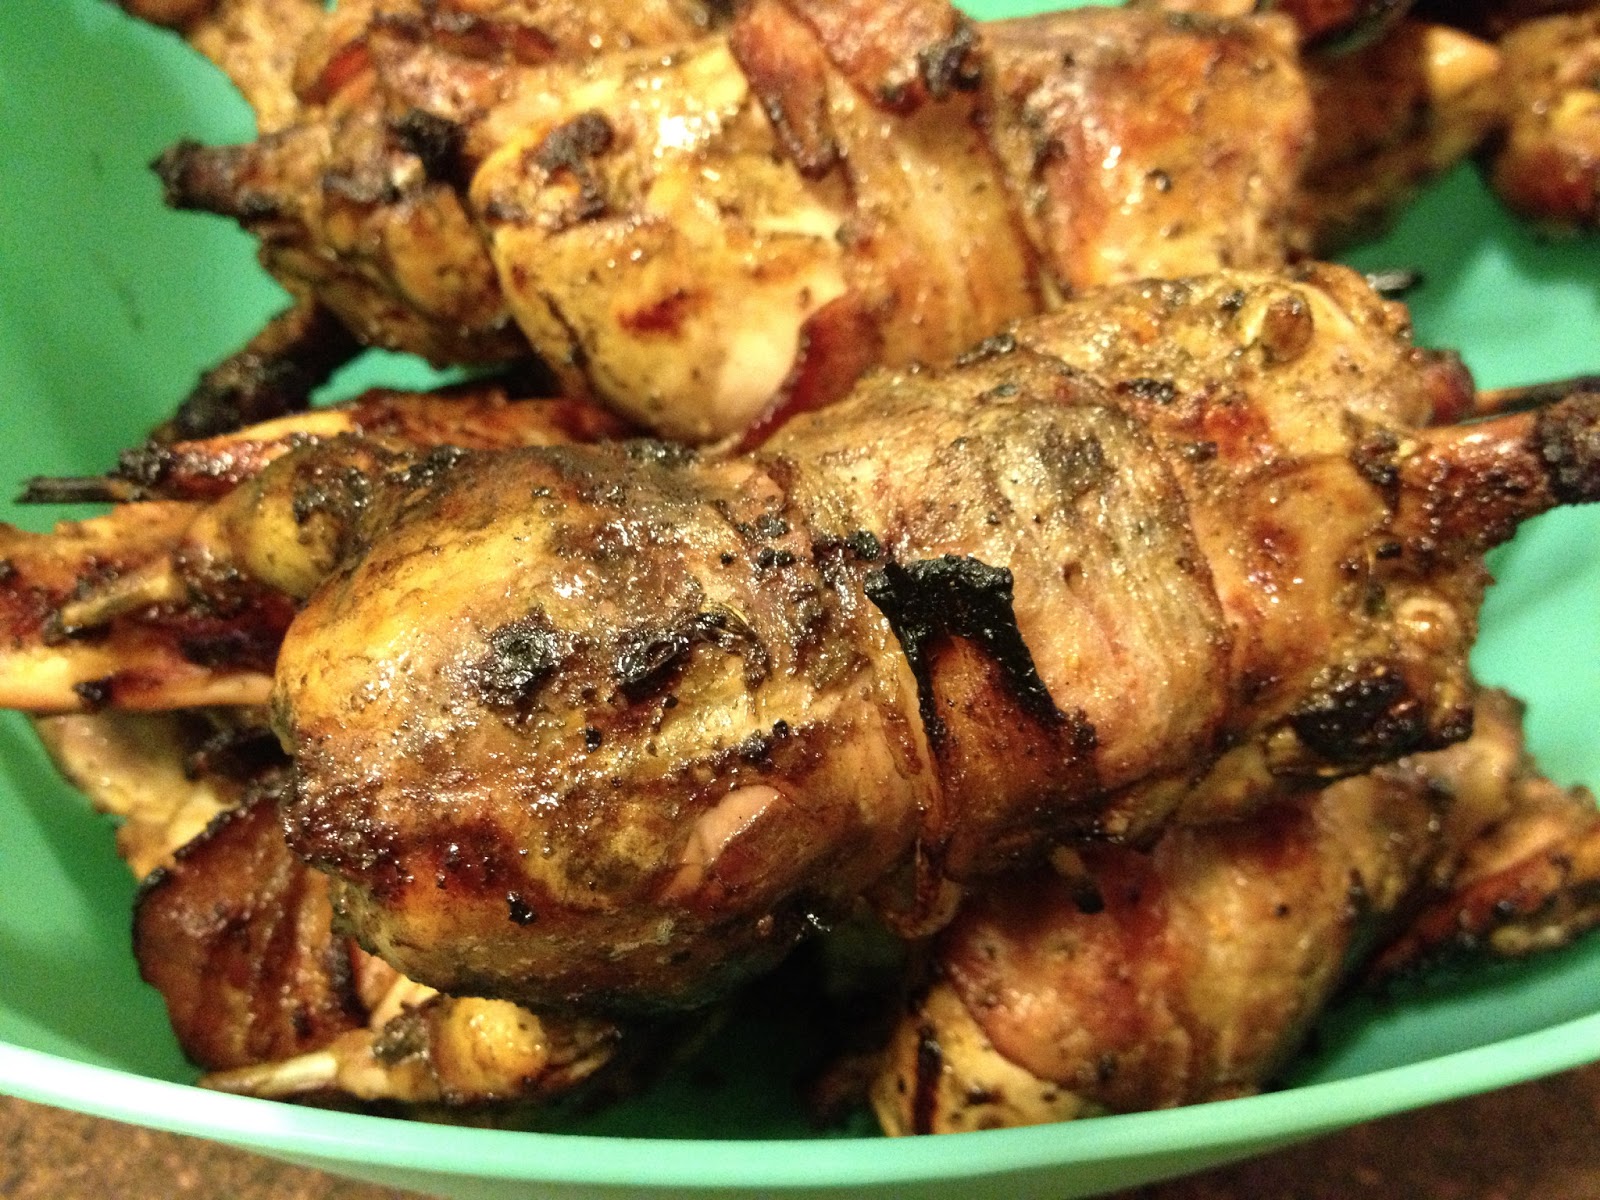
Check out those delicious char marks from the grill!

I baked some cubed sweet potato for a side, along with some spinach sauteed with garlic, onions, and tomato. Not your style? These beauties are so delicious, you could pair them with just about anything! Enjoy!

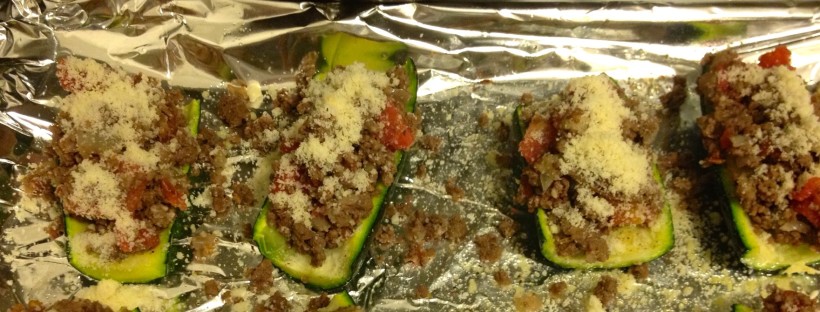
venison-stuffed zucchini

Last night I came up with another yummy recipe that I had to share with y’all. I have been wanting to use some of the ground venison from the doe I got in November in a healthy way, and this was a perfect way to use it. Now, for the 4 servings that I made, there was a ton of meat left over. The boys just piled more of it on their plates, but I plan on using the rest for sloppy joes or something similar- it’s delicious, so don’t let it go to waste!

Continue reading

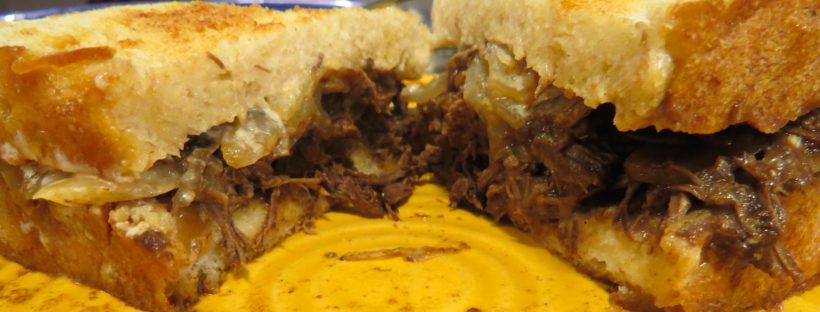
crock pot duck sandwiches

At last! A duck recipe for my dear readers. As I am sure you can tell by all of my duck hunting posts, I have quite a few birds in my freezer and a handful of delicious recipes I have been dying to share. I have made several dishes this winter, but am naturally a bit scatterbrained so of course I forgot to take pictures or write down my directions. I promise I will be better about that in 2013!

Ducks can be a bit finicky to cook- if you don’t do it just right, you can wind up with a tough, rubbery, tasteless bird, and no one wants to eat that! While I do love a good seared duck breast, the crock pot is a great way to slow cook the meat until it is tender, without a lot of hands-on time in the kitchen. Between the bbq’d duck and the tangy horseradish sauce, this recipe was a real success. My guinea pig tasters all cleaned their plates, and I know you will too!

INGREDIENTS:

Duck BBQ:

4 duck breasts, fileted off the bone (yield 8 filets)
2 onions, chopped
3 cloves of garlic, chopped
1 tsp butter
1 tbsp Worcestershire sauce
1/2 bottle of your favorite bbq sauce (I used a smokey-sweet version from Trader Joe’s)
1/2 cup of red wine
1/3 cup of water

Horseradish Sauce:

1-2 tbsp prepared horseradish (you can always add more if you like a little more kick)
1/4 cup sour cream
1/4 cup mayonaise
1 tbsp Worcestershire sauce

1 Sourdough bread loaf, sliced

STEPS:

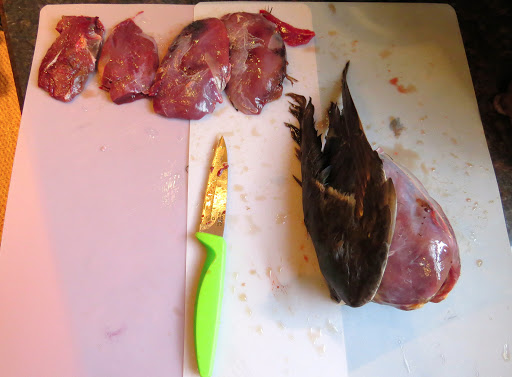
1. Start by getting your duck breasts off the bone. This is pretty easy to do, but even easier if you have bought them at the grocery store. Just kidding. I was using mallards and teal, but whatever you have will work since they will be cooked for a lllllong time. Real long. Like 10 hours. I also only ended up with 7 filets from the 4 birds, as my dad I made a direct hit on one and the second side was too shot up to use.

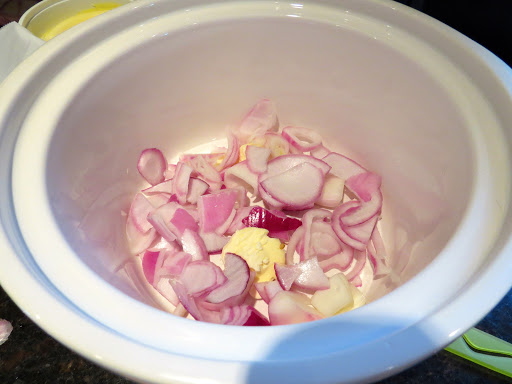
2. In the bottom of your crock pot, put a layer of the chopped onions down, along with the butter. Then layer the ducks on top of the onions, and sprinkle the garlic on top of the ducks. I had one red onion and one sweet onion on hand, so I used the red onion for the base layer.

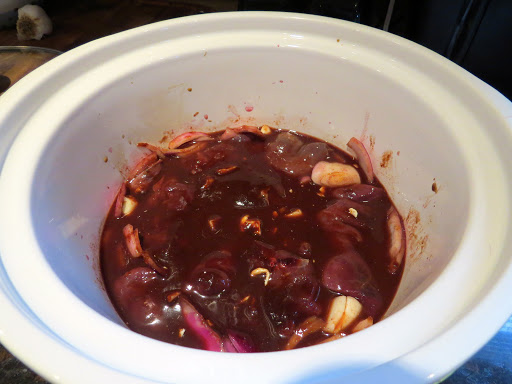
3. Now is the time to douse those ducks with the liquids. Pour in the bbq sauce, red wine, Worcestershire, and water, making sure all of the duck is covered. Then give it a quick little stir.

4. Set the crock pot to low, put that lid on, and walk away! I got everything in the pot around 8:30 in the morning, and didn’t touch it again until 4:30 that afternoon. What a delightful sight to come home to. Am I right? Pardon the sauce up the sides… I had a little spillage when I was clumsily transporting everything. Oops…

5. Almost sandwich-making time! To make the horseradish sauce, just combine all of the ingredients with a fork until they are blended. You may need to mess around with the quantities to get the taste to your liking, but it should ultimately look like this:

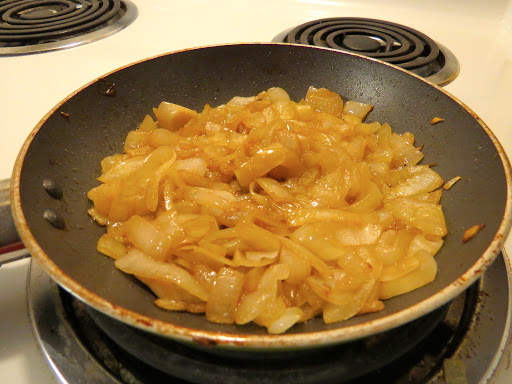
I also grilled up that sweet onion I mentioned before, just to have a little something extra on top of the meat in the sandwiches. Cook them low and slow until they are super soft. I even added another dash of Worcestershire. Why? Because it was there, and I like it.

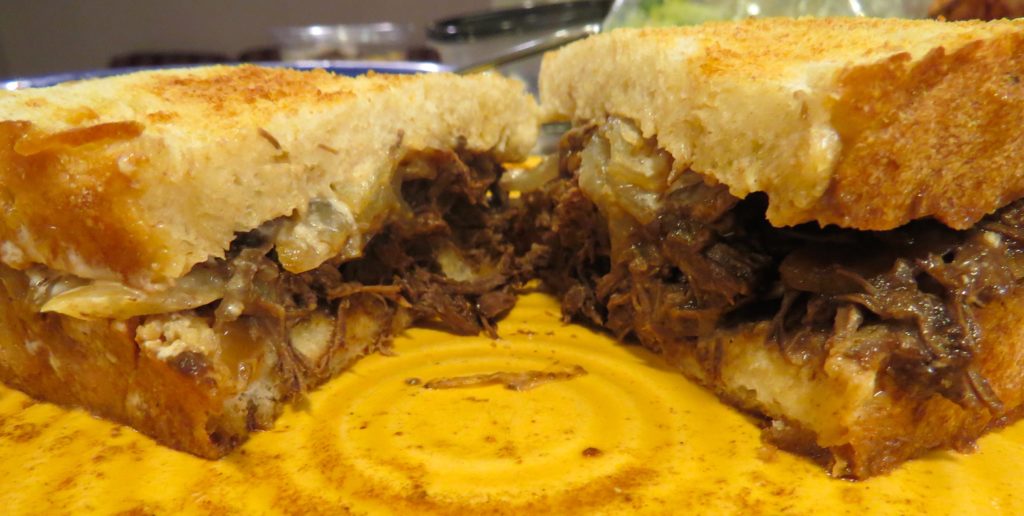
6. I used a sourdough loaf for the sandwich bread. It is nice and crusty on the outside, but soft and chewy on the inside- perfect for absorbing all the juices in the bbq! Once you have sliced your bread, drizzle it with a little bit of olive oil, and stick it under the broiler until it is toasted. Then slather it with the horseradish sauce- as much or as little as you like!

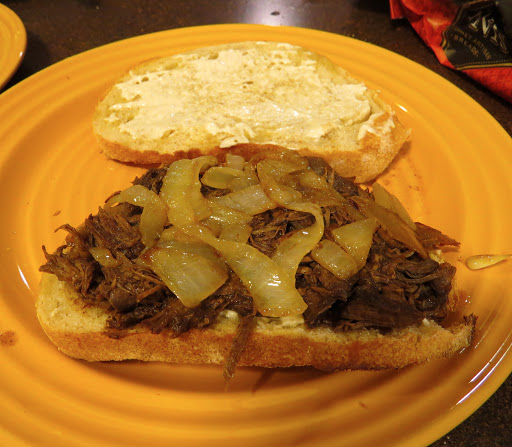
7. Now, at long last, pile that bread high with the duck bbq. I am telling you, don’t skimp! You will want to have a ton of it on there. Then add a few more onions for some extra flavor, top it with the second piece of bread, and take the biggest bite you can! Oh man, what a treat.

img_0142

How good does that look?! I am telling you, you won’t soon forget how much you love this recipe. I know I will be making it again before too long! Let me know how you like it. Enjoy!